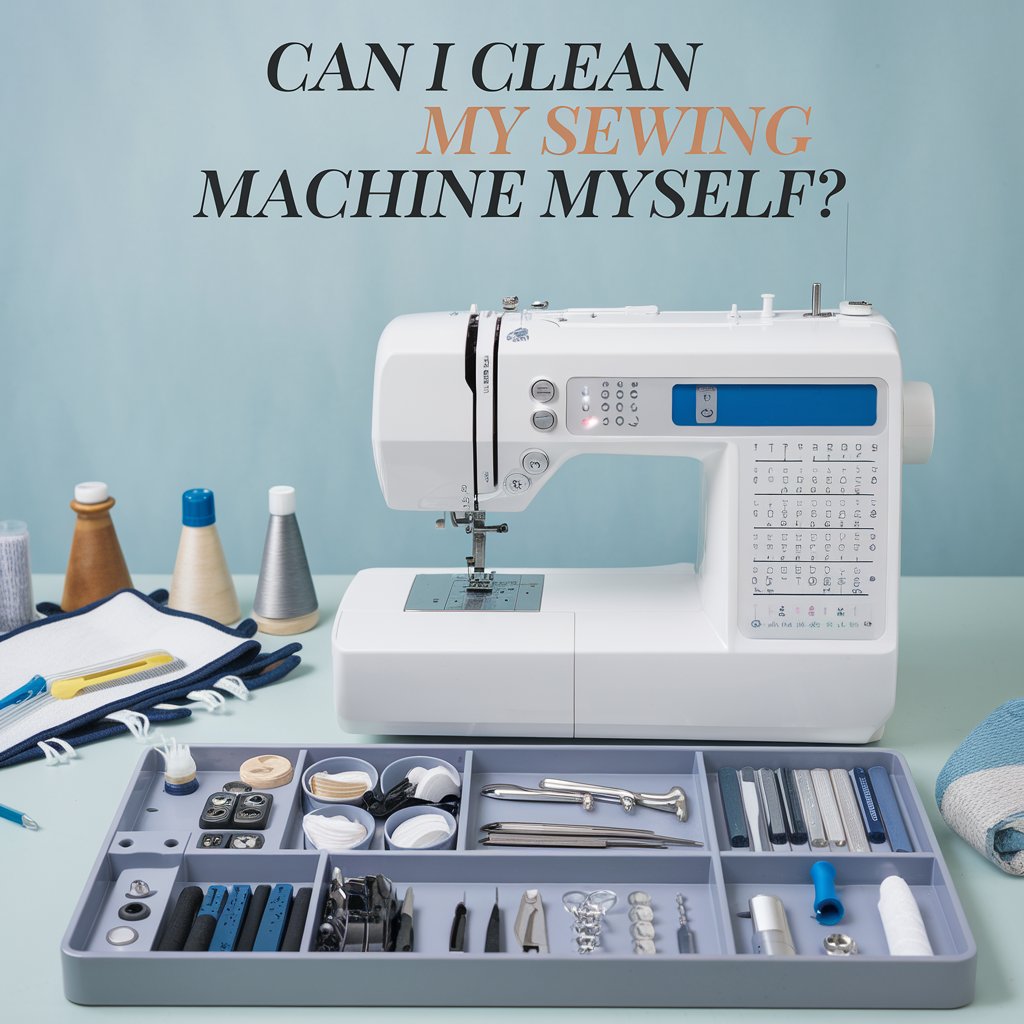
Introduction
Is your sewing machine starting to feel sluggish? Have you noticed strange noises or uneven stitches? If so, it might be time for a good cleaning! Many people wonder, “Can I clean my sewing machine myself, or should I leave it to the pros?” The good news is, with the right tools and a bit of patience, you can absolutely clean your sewing machine yourself. In this article, we’ll walk you through the process step by step, so you can keep your machine running smoothly and extend its lifespan.
Understanding Your Sewing Machine
Key Components That Need Cleaning
Before diving into the cleaning process, it’s important to understand which parts of your sewing machine need the most attention. Dust, lint, and thread fragments can accumulate in key areas, affecting the machine’s performance. The most critical components to clean are:
- Bobbin Area: This is where lint tends to build up quickly, especially if you sew frequently.
- Feed Dogs: These are the metal teeth that pull fabric through the machine, and they can get clogged with debris over time.
- Needle Plate: Dust can gather under the needle plate, which can impact the smoothness of your stitches.
Common Causes of Dust and Debris Build-Up
Every time you sew, tiny fibers from your fabric and thread are released into the air. These particles eventually settle into the inner workings of your sewing machine, leading to dust and debris build-up. Fabrics like fleece and flannel tend to produce more lint, so if you work with these materials often, you’ll need to clean your machine more frequently. Additionally, using low-quality thread can result in more breakage and shedding, further contributing to the mess inside your machine.
Tools You’ll Need for Cleaning Your Sewing Machine
Basic Cleaning Tools
To clean your sewing machine effectively, you’ll need a few basic tools. Most of these are easy to find and might even be included with your machine:
- Soft Bristle Brush: Often included with sewing machines, this brush is perfect for cleaning out lint and dust.
- Lint-Free Cloth: A clean, lint-free cloth is essential for wiping down your machine without leaving behind more debris.
- Screwdriver: You’ll need a small screwdriver to remove the needle plate and access the bobbin area.
Optional Tools for a Deeper Clean
If you want to take your cleaning routine to the next level, consider these optional tools:
- Mini Vacuum Cleaner: Designed specifically for sewing machines, these tiny vacuums can help you suck up dust and lint in hard-to-reach places.
- Microfiber Cloth: For a more thorough wipe-down, a microfiber cloth can attract and trap even more dust.
Step-by-Step Guide to Cleaning Your Sewing Machine

Safety First: Unplug and Prepare Your Machine
Before you begin cleaning your sewing machine, always unplug it to ensure your safety. Remove any thread, fabric, or accessories from the machine to make sure you have easy access to all the areas that need cleaning. Gather your tools, and you’re ready to start.
Removing the Needle Plate and Bobbin Case
Use your screwdriver to remove the needle plate, which is the flat metal surface under the needle. Once removed, you’ll have access to the bobbin case and the surrounding area. Carefully take out the bobbin case and set it aside. This is where lint and thread tend to accumulate, so it’s a critical spot to clean thoroughly.
Cleaning the Bobbin Area and Feed Dogs
Using your soft bristle brush, gently sweep away any lint or debris from the bobbin area and feed dogs. Be thorough but gentle—scraping too hard could damage these delicate parts. If you’re using a mini vacuum, this is a good time to suck up any lingering dust.
Oiling the Machine (If Necessary)
Not all sewing machines require oiling, so it’s important to consult your manual before proceeding. If your machine does need oil, apply a small drop of sewing machine oil to the recommended areas. Over-oiling can attract more dust, so be sure to use only the amount specified by the manufacturer.
Reassembling and Testing the Machine
Once you’ve cleaned and oiled your machine, it’s time to put everything back together. Replace the bobbin case and needle plate, then thread the machine as you normally would. Run a few test stitches on a scrap piece of fabric to ensure everything is functioning smoothly. If the machine still feels sluggish or noisy, you may need to clean it more thoroughly or consider professional servicing.
How Often Should You Clean Your Sewing Machine?

Regular Cleaning for Casual Sewists
If you sew casually—maybe a few times a month—a good cleaning every three to six months should suffice. Regular maintenance helps prevent dust and debris from building up, keeping your machine in good working condition.
More Frequent Cleaning for Heavy Users
For those who sew daily or work on large projects, more frequent cleaning is essential. If you’re a heavy user, consider cleaning your machine monthly or even after every major project. The more you sew, the faster lint and dust will accumulate, so staying on top of your cleaning routine is key to maintaining performance.
Common Mistakes to Avoid When Cleaning Your Sewing Machine
Using Compressed Air
It might be tempting to use compressed air to blow out the dust, but this can actually push debris deeper into your machine, where it’s harder to remove. Instead, stick to brushes and vacuums that remove lint without forcing it into the machine’s internal components.
Over-Oiling Your Machine
While oiling is essential for some sewing machines, using too much oil can cause more harm than good. Excess oil can attract dust and lint, leading to build-up in critical areas. Always follow the manufacturer’s guidelines for oiling, and use it sparingly.
Skipping Key Areas
It’s easy to miss certain areas when cleaning, but neglecting spots like the feed dogs, needle plate, or bobbin area can result in long-term performance issues. Be thorough in your cleaning, making sure to cover all key components of your machine.
When to Seek Professional Help
Signs Your Machine Needs Professional Maintenance
While regular DIY cleaning is important, there are times when your machine may need professional attention. If your sewing machine is making unusual noises, jamming frequently, or producing uneven stitches despite regular cleaning, it’s time to take it to a professional for servicing.
Balancing DIY Cleaning with Professional Servicing
Even with regular at-home cleaning, it’s a good idea to have your sewing machine professionally serviced once a year. Professionals can access areas you might not be able to reach and can address any underlying issues that DIY cleaning won’t solve.
How Cleaning Your Sewing Machine Improves Its Longevity

The Link Between Cleanliness and Performance
A clean sewing machine performs better, plain and simple. Regular cleaning removes the dust and lint that can cause jams, skipped stitches, and other performance issues. By keeping your machine clean, you’ll not only enjoy smoother sewing but also produce higher-quality work.
Preventing Long-Term Damage with Regular Care
Neglecting to clean your sewing machine can lead to long-term damage. Dust and debris can clog vital components, causing wear and tear that shortens your machine’s lifespan. Regular maintenance helps prevent these issues, saving you money on repairs or replacements in the long run.
Conclusion
Cleaning your sewing machine yourself is not only possible but highly beneficial. Regular DIY maintenance can extend the life of your machine, improve its performance, and prevent costly repairs. By following the proper steps, using the right tools, and avoiding common mistakes, you can keep your sewing machine in tip-top shape. However, balancing DIY care with occasional professional servicing ensures that your machine remains in the best condition possible for years to come
.
FAQs
1. Can I clean my sewing machine without disassembling it?
Yes, you can clean some parts of your sewing machine without taking it apart, but for a thorough cleaning, you’ll need to remove the needle plate and access the bobbin area.
2. How do I know if my sewing machine needs oiling?
Check your machine’s manual for oiling instructions. Some machines require oil, while others have self-lubricating parts. If your machine is making more noise than usual, it might need oiling.
3. How often should I replace the needle in my sewing machine?
It’s a good practice to replace the needle after every major project or after eight hours of sewing. A dull needle can cause skipped stitches and damage to your fabric.
4. Can I use household cleaners on my sewing machine?
No, you should avoid household cleaners, as they can damage the delicate components of your sewing machine. Stick to lint-free cloths, soft brushes, and any recommended cleaners from your machine’s manufacturer.
5. What should I do if my sewing machine still doesn’t work after cleaning it?
If your machine is still malfunctioning after a thorough cleaning, it might be time to consult a professional technician. There could be a mechanical issue that requires expert attention.
Visit our Sewing Machine Shop for the best sewing machine deals.
For more insightful articles, visit our Medium page !

