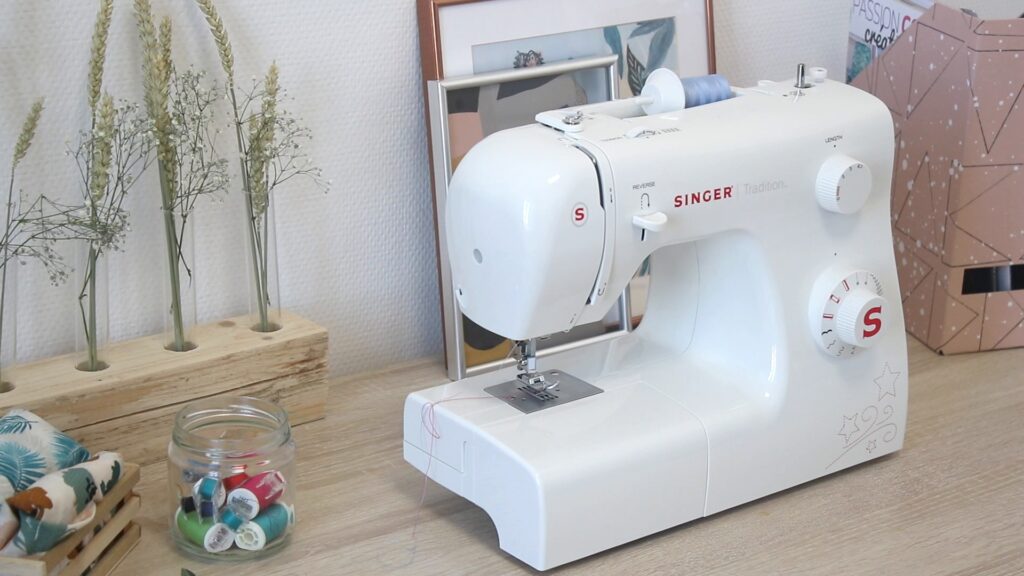
Buying a second-hand sewing machine can be a great way to get a high-quality machine at a fraction of the cost. However, testing it thoroughly before you buy is crucial to ensure you’re not inheriting someone else’s problems. Whether you’re buying from an individual or a local Sewing Machine Shop, this guide will walk you through the essential steps to test a used sewing machine. This is a complete guide on how to Test a Second-Hand Sewing Machine.
Why Testing a Second-Hand Sewing Machine is Crucial
Avoiding Unnecessary Repairs
Let’s face it, nobody wants to buy a sewing machine only to spend a small fortune on repairs right after. By testing the machine thoroughly, you can spot any potential issues before they become costly headaches. Think of it like test-driving a car—you wouldn’t buy one without making sure it runs smoothly, right?
Ensuring Long-Term Reliability
A used sewing machine is an investment, even if it’s second-hand. You want something that’s going to last, not conk out after a couple of projects. Testing helps you gauge whether the machine is built to go the distance or if it’s on its last legs.
Getting the Best Value for Your Money
Why settle for less? A thorough test ensures you’re getting the most bang for your buck. It’s your hard-earned money, so make sure the machine is worth every penny by verifying its performance and features.
Preparations Before Testing
Gathering Necessary Materials
Before you begin testing, gather all the materials you’ll need: different types of fabric (lightweight, medium, and heavy), threads, needles, and any accessories that should come with the machine. If possible, bring along a small toolkit for making minor adjustments.
Understanding the Machine’s Basics
Even if you’re not a sewing expert, it’s important to have a basic understanding of how the machine should operate. Familiarize yourself with the machine’s features and functions, especially if it’s a model you haven’t used before.
Reviewing the Machine’s Manual (If Available)
If the seller has the manual, take a few minutes to skim through it. The manual can give you valuable insights into the machine’s capabilities and any special testing procedures. It’s also helpful to know what accessories should be included.
Inspecting the Machine Physically
Checking the Exterior Condition
Body and Casing
Start by giving the machine a once-over. Check for any cracks, dents, or rust on the body and casing. While minor cosmetic damage might not affect performance, it can indicate how well the machine has been cared for. A well-maintained machine should look the part, even if it’s been used.
Needle and Presser Foot
The needle and presser foot are key components that can tell you a lot about the machine’s condition. Check the needle for bends or dullness and ensure the presser foot lifts and lowers smoothly. If these parts are in bad shape, the machine might not be in the best condition overall.
Examining the Electrical Components
Motor and Wiring
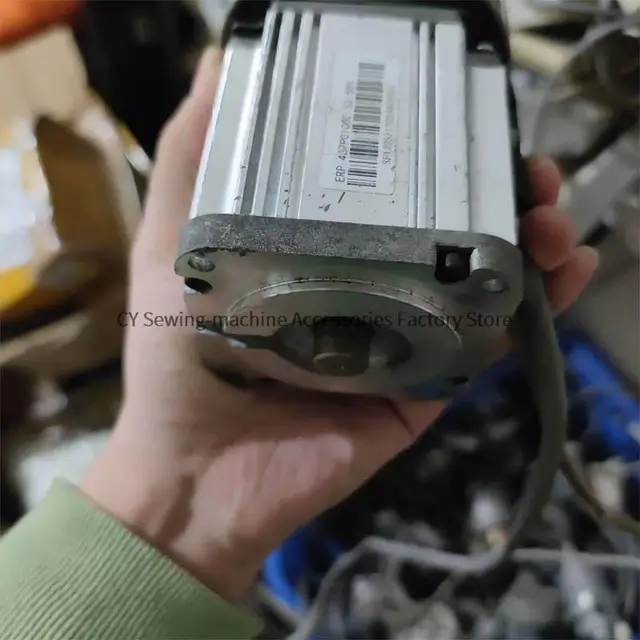
Plug in the machine and check the motor’s operation. Listen for any unusual noises—grinding, buzzing, or clicking sounds can be red flags. Also, inspect the wiring for fraying or other signs of wear. Faulty wiring isn’t just inconvenient; it’s a safety hazard.
Foot Pedal Functionality
The foot pedal controls the speed and should respond smoothly to pressure. Test it out by running the machine at different speeds. If the pedal sticks or feels unresponsive, that’s a sign something’s not right.
Assessing the Machine’s Interior
Bobbin Case and Hook
Open up the machine and inspect the bobbin case and hook area. This is where a lot of lint and thread buildup can occur. A clean, well-maintained bobbin case is a good sign, while a dirty or damaged one could indicate neglect.
Internal Gears and Belts
While you’re inside, take a look at the internal gears and belts. They should be in good condition with no visible wear or damage. If you notice cracks, fraying, or excessive play in the gears, it might be time to walk away.
Performing a Basic Functionality Test
Threading the Machine
Start by threading the machine according to the manual. If the seller doesn’t have the manual, most machines have similar threading processes. This step is crucial as improper threading can lead to skipped stitches, thread breaks, or tension issues.
Testing Different Stitches
Once threaded, test the machine’s stitch capabilities. Start with a straight stitch, then try out other stitch types like zigzag, decorative stitches, and buttonholes. The stitches should be even and consistent without any skipped stitches or bunching.
Checking the Tension Control
Proper tension is key to good stitching. Adjust the tension knob and observe how the machine handles the changes. It should respond smoothly without creating loops on the fabric’s underside or puckering the fabric.
Testing the Bobbin Winder
Check the bobbin winder to ensure it works correctly. It should wind the thread evenly onto the bobbin without overfilling. If the bobbin winder isn’t functioning, it could be a sign of other mechanical issues.
Evaluating Stitch Quality
Assessing Straight Stitches
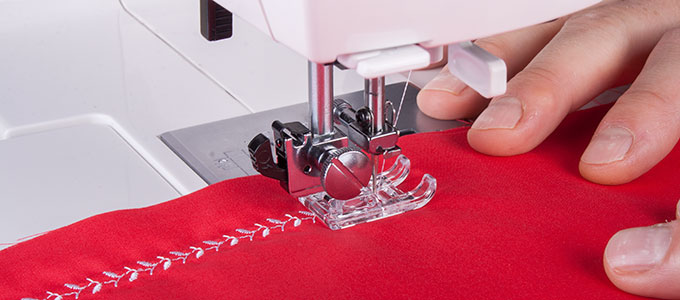
Straight stitches are the foundation of most sewing projects, so they need to be perfect. Test a few lines of straight stitches on different fabric types. The stitches should be uniform in length with no puckering or unevenness.
Testing Zigzag and Decorative Stitches
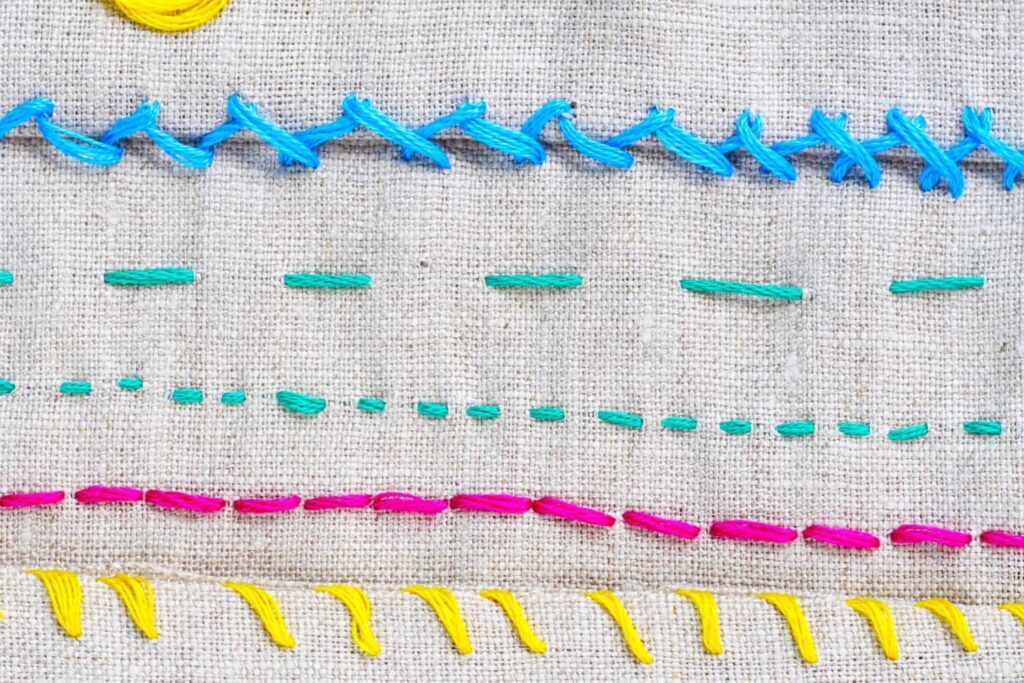
Next, switch to zigzag and decorative stitches. These should also be consistent and well-formed. Pay attention to how the machine handles the transitions between different stitch types, especially if you plan on doing a variety of sewing projects.
Checking the Buttonhole Functionality
If the machine has a buttonhole function, test it out. A good machine should create a clean, even buttonhole without skipping stitches or bunching the fabric. Buttonholes can be tricky, so it’s a great way to test the machine’s precision.
Listening for Unusual Sounds
Identifying Grinding or Clicking Noises
As the machine runs, listen carefully for any grinding or clicking noises. These sounds can indicate problems with the motor, gears, or other internal components. A smooth-running machine should be relatively quiet, with a consistent hum.
Assessing the Smoothness of Operation
A well-maintained sewing machine should operate smoothly, without any jerking or hesitation. Test the machine at different speeds and through various fabrics to ensure it runs smoothly in all conditions.
Checking for Vibrations During Use
Excessive vibrations during use can indicate mechanical issues or poor build quality. While some vibration is normal, especially with older machines, it shouldn’t be so severe that it affects your control over the fabric.
Testing the Machine’s Speed and Control
Evaluating Foot Pedal Responsiveness
The foot pedal should give you full control over the machine’s speed. Test it by sewing at different speeds, from a slow crawl to full speed. If the machine struggles to change speeds or feels unresponsive, it might not be in peak condition.
Testing Maximum and Minimum Speeds
Check the machine’s maximum and minimum speeds to ensure they’re within a reasonable range. A machine that only operates at one speed, or has trouble reaching its maximum speed, could have motor or pedal issues.
Ensuring Smooth Speed Transitions
Speed transitions should be smooth, with no lag or abrupt changes. If the machine stutters or hesitates when changing speeds, it might be a sign of wear and tear or motor issues.
Testing the Machine’s Specialty Features
Assessing Automatic Needle Threader
If the machine has an automatic needle threader, test it out. This feature should work smoothly and save you time. A malfunctioning needle threader can be frustrating and might indicate other underlying issues.
Testing the Free Arm Function
The free arm is essential for sewing cuffs, sleeves, and other tubular items. Test it by removing the accessory compartment and sewing a small, circular piece of fabric. The machine should handle it easily without any trouble.
Checking the Drop Feed Mechanism
The drop feed mechanism allows for free-motion sewing and quilting. Engage and disengage it to ensure it works properly. This feature is crucial for quilters and those who do a lot of creative sewing, so it’s important it functions well.
Final Checks Before Purchase
Reviewing the Service History
If available, ask the seller for the machine’s service history. A machine that’s been regularly serviced is likely in better condition than one that hasn’t. Regular maintenance can extend the life of a sewing machine, just like with any other machinery.
Confirming the Availability of Parts
Especially with older or vintage machines, confirm that replacement parts are still available. Some models have parts that are difficult or expensive to find, which can be a deal-breaker if the machine needs repairs in the future.
Asking About Warranty or Return Policy
Even when buying second-hand, some sellers or stores might offer a warranty or return policy. Ask about these options, as they can provide peace of mind. If you’re buying from a Sewing Machine Shop, inquire about their specific policies.
Making the Final Decision
Weighing the Pros and Cons
After testing, take some time to weigh the pros and cons. Consider the machine’s condition, performance, and any potential repairs. It’s easy to get swept up in the excitement of a good deal, but a careful evaluation ensures you’re making a wise purchase.
Considering the Cost of Potential Repairs
Factor in the cost of any repairs or replacement parts needed. Sometimes, a machine might be a great deal upfront, but if it requires significant repairs, it might not be worth it in the long run.
Deciding If It’s Worth the Investment
Finally, ask yourself if this machine is truly worth the investment. If it meets your needs, performs well, and is in good condition, it could be a fantastic find. However, if you have doubts, it might be worth continuing your search.
Conclusion
Testing a second-hand sewing machine thoroughly before purchase is essential to ensure you’re getting a machine that’s reliable, durable, and worth the investment. By following the steps outlined in this guide, you can confidently assess the condition of any second-hand machine, whether you’re buying from a private seller or a Sewing Machine Shop. Remember, a little time spent testing now can save you a lot of hassle—and money—later on.
FAQs
How long should I spend testing a second-hand sewing machine?
You should spend at least 30 minutes to an hour thoroughly testing a second-hand sewing machine. This gives you enough time to evaluate its performance across different functions and stitch types, ensuring you don’t overlook any issues.
What should I do if I find minor issues during testing?
If you find minor issues, consider how easily and affordably they can be fixed. For example, replacing a needle or tension spring is usually straightforward and inexpensive. However, if the machine requires major repairs, it might not be worth the investment.
Can I test a second-hand sewing machine if I’m new to sewing?
Yes, you can! Even if you’re new to sewing, you can follow the basic testing steps like threading the machine, testing stitches, and listening for unusual noises. If you’re unsure, consider bringing along a more experienced friend or asking the seller for a demonstration.
Is it okay to buy a machine without a manual?
While it’s preferable to have a manual, it’s not a deal-breaker. Many manuals are available online, and if you’re familiar with sewing machines, you can likely figure out most functions. However, for complex or vintage machines, having a manual is very helpful.
How can I tell if a machine has been well-maintained?
A well-maintained machine will generally look clean, run smoothly, and have minimal wear and tear. Check for regular oiling marks, a clean bobbin area, and smooth operation. Ask the seller about the machine’s maintenance routine to gauge its overall care.
For more insightful articles, visit our Medium page !

